Booking a professional house clearance can feel like a big step, especially if you’ve never done it before. Whether you’re preparing a property for sale, managing probate, downsizing or clearing after tenants, knowing what to expect makes the process far smoother and less stressful.
This guide explains exactly how to prepare, what happens on the day, and what to expect once the clearance is complete.
Before the Clearance: How to Prepare
Good preparation helps the clearance run efficiently and avoids confusion or delays.
1. Decide What You Want to Keep
Before the team arrives, go through the property and remove anything you definitely want to keep such as documents, jewellery, photographs or sentimental items. Setting these aside prevents accidental removal and makes the clearance faster. If possible, place these items in a separate room or remove them from the property entirely.
2. Identify Valuables and Important Documents
If the clearance is part of probate or estate management, identify anything that may require valuation before removal. This includes antiques, collections, legal paperwork or personal records. Sorting these in advance helps ensure nothing important is overlooked.
3. Plan Access and Practical Arrangements
Clearance teams need safe, clear access to the property. Before the day:
- Confirm keys and access arrangements
- Ensure parking is available nearby
- Unlock garages, lofts and outbuildings
- Make sure pets are secured if present
Arranging access ahead of time helps the team work efficiently and prevents delays.
4. Understand the Scope of the Clearance
Make sure both you and the clearance provider agree on:
- Which rooms or areas are included
- Any items not to be removed
- Whether cleaning or additional services are required
- The expected timeline
Clear communication ensures everything runs smoothly.
5. Prepare Emotionally and Logistically
Clearances (particularly probate or bereavement clearances) can be emotional. Taking time beforehand to plan what will happen, what will be kept and what will go can make the process far easier.
On the Day: What Happens During the Clearance
Professional clearance teams follow a structured process designed to be efficient, respectful and safe.
1. Arrival and Walk-Through
When the team arrives, they typically walk through the property with you (or confirm instructions remotely) to ensure everything is clear (what is being removed, what remains and any special instructions). This is your chance to ask questions and confirm details before work begins.
2. The Clearance Process
Once work starts, the team usually clears the property room by room. This typically includes:
- Removing furniture, appliances and household contents
- Packing or bagging smaller items
- Sorting recyclable, reusable or donatable items
- Removing agreed fixtures if included
Professional teams handle heavy lifting, loading and transportation, meaning you don’t need to move anything yourself.
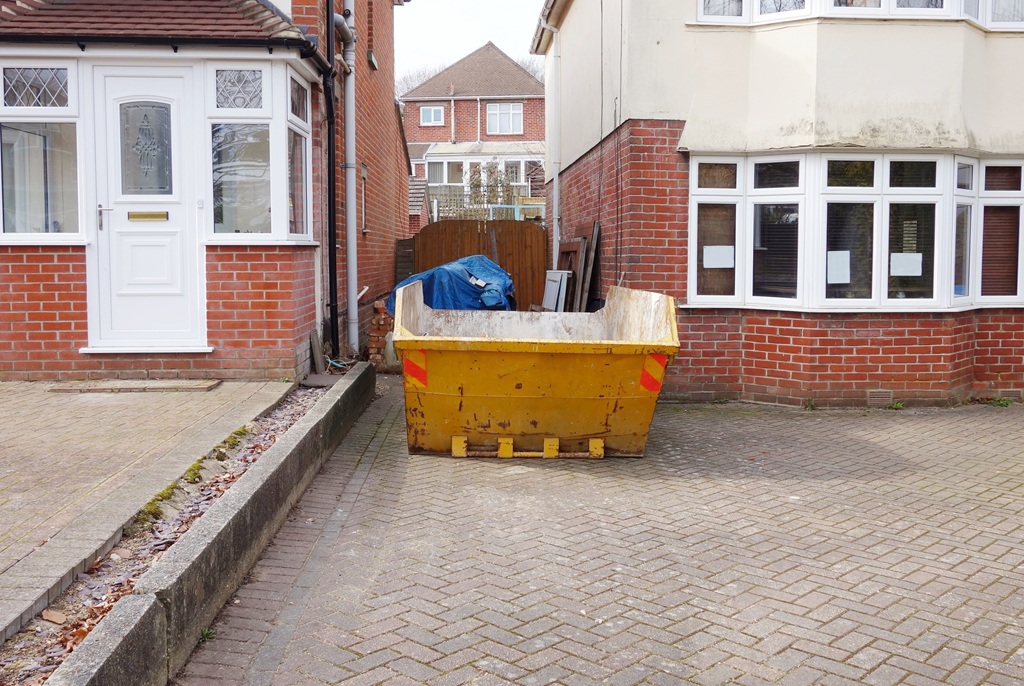
3. Sorting, Recycling and Disposal
Items are normally separated into categories such as reuse, recycling and disposal. This ensures responsible waste handling and reduces landfill wherever possible. Depending on the service, some items may be donated, recycled or resold rather than discarded.
4. Safety and Professional Handling
Clearance teams are trained to move heavy items safely and manage difficult spaces such as lofts, garages and tight stairways. This reduces risk to both property and people.
After the Clearance: What to Expect
Once the clearance is complete, there are a few final steps.
1. Final Property Check
The team will normally inspect the property to ensure all agreed areas are cleared and nothing has been missed. You may be invited to check the property yourself, or photos can be provided if you are not present.
2. Documentation and Waste Transfer Notes
Professional clearance providers should supply appropriate paperwork, such as a Waste Transfer Note. This confirms your waste has been passed to a licensed carrier and disposed of legally, fulfilling your duty of care. Keep this documentation for your records, especially for probate or property sales.
3. The Property After Clearance
Depending on your requirements, the property may be:
- Fully emptied and ready for sale or handover
- Prepared for cleaning or renovation
- Left clear for estate administration
Some services also offer optional deep cleaning if required.
How Long Does It Usually Take?
Clearance time varies depending on property size, volume and complexity. Small clearances may take only a few hours, while larger or more complex properties can take a full day or longer. Planning access and preparation helps keep the timeline predictable.
Final Thoughts
A professional house clearance is designed to remove stress, not add to it. With good preparation (removing valuables, organising access, confirming instructions and understanding the process) you can ensure the day runs smoothly from start to finish.
Knowing what to expect before, during and after the clearance helps you stay organised, avoid surprises and feel confident that everything is handled properly.
Need Expert Help Planning Your Clearance?
If you’re preparing for a house clearance and would like guidance on how to organise the process, Langley’s House Clearance can help. Our experienced team supports homeowners, executors and families with clear communication, careful handling and a smooth, professional service from start to finish.
To discuss your clearance or request a free, no-obligation quote, contact Langley’s today and we’ll be happy to guide you through every step.
